Wi-Fi: Changing DNS details
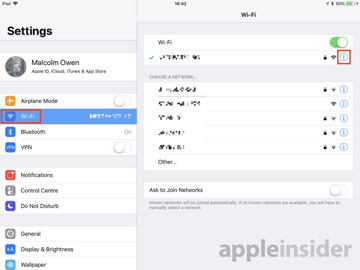
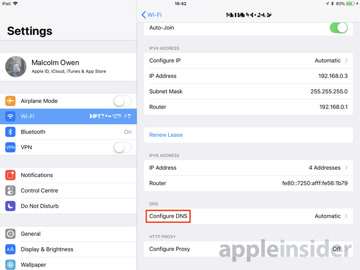
Enter the Settings app on your iOS device, and select Wi-Fi. Tap the small "i" icon next to the name of the network that needs the DNS server details changed, scroll down, and tap Configure DNS.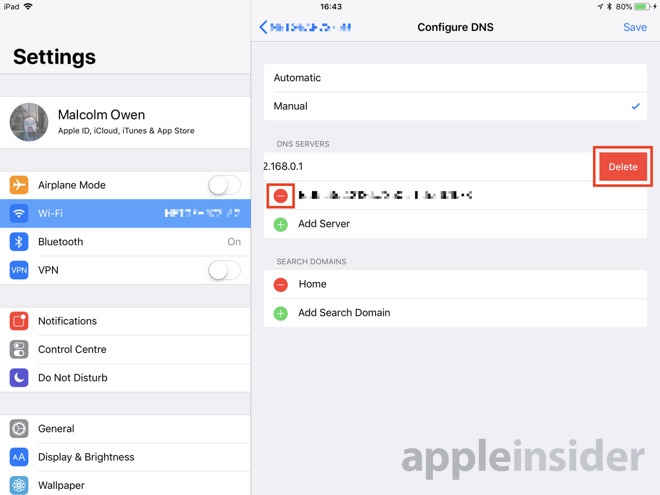
Once finished, tap Save in the top-right corner.
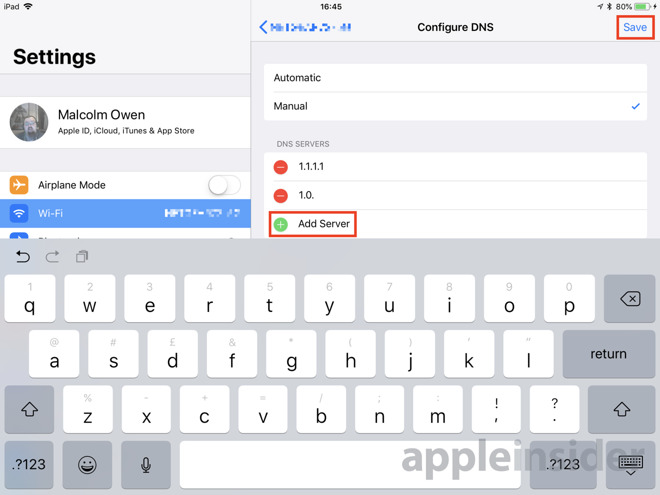
Note that this change will only apply to a specific Wi-Fi network, not for all networks. This setting needs to be changed on all Wi-Fi networks you wish to use a specific DNS server through.
Cellular: Workarounds required
Apple has not included the ability to change the DNS details for cellular connections in iOS. By default, users are stuck connecting to whatever DNS server is set up with their carrier.It is possible to make changes to the cellular DNS, but only through the use of third-party applications.
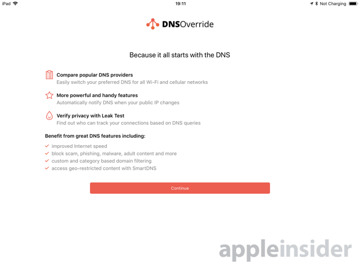
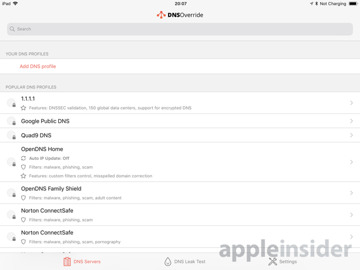
One option is DNS Override, a tool for easily changing the DNS details for Wi-Fi connections, but is also capable of working around Apple's restriction. Once unlocked with an in-app purchase, the app effectively creates a dummy Virtual Private Networking (VPN) profile that isn't actively used, but does allow for the app to set the DNS server, including for cellular networks.
Various VPN servers are available, both in paid and free forms, though if you have a good connection at home, it is also possible to set up your own.

